I went to my parents house for yet another canning lesson - this time tomatoes. I took detailed notes and a plenty of photos. I'm putting everything I learned right here. I'll be trying it by myself soon and thanks to these directions I should have no trouble.
Some people can tomatoes using a water bath method. We used the pressure cooker method.
Canning tomatoes is very similar to
canning beans, which I posted about here. In fact, there are a few pictures from that post which I'll use here because there's no difference.
What we used:
This canning kit really comes in handy. All the gadgets with blue on the handle are from this kit. This is the pressure canner we used. It holds up to 7 quart sized jars. By the way, I'm NOT getting money for endorsements. I just put the links here to be helpful.
How to Can Tomatoes
Have clean quart or pint sized canning jars on hand. We used pint jars. Inspect the jar rims very carefully. If a speck of anything is there or if there's a nick in the jar, they won't seal properly.
Put the jar lids & bands in boiling water to sterilize.
Wash the ripe tomatoes. Put them in boiling water for about 1 minute, then put them in cold water. You need a good way to get the tomatoes out of the water. You could use a pasta pot like we did. We filled the pot about halfway with tomatoes. We are planning to get a
wire basket, which is easier to use.
Peel the tomatoes. Remove the core and cut off any bad places. Push the tomatoes into the jars. Keep adding to the jars.
When the jar is starting to get full, use a non-metal utensil to mush them down. The purpose of this step is to get out the air bubbles, but it also reveals more tomato juice. Keep adding tomatoes and mushing them down until there's just 1/2 inch head space left in the jar.

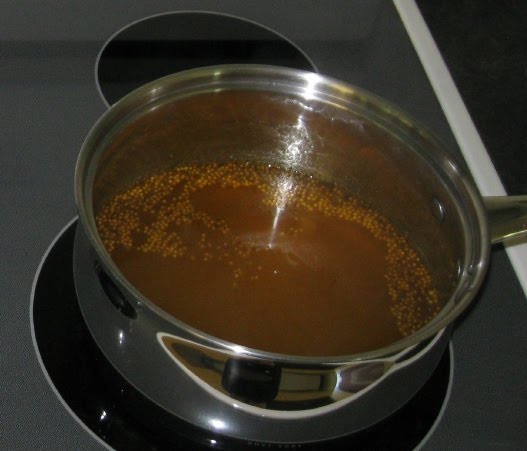
At this point many books are adamant that you should add 1 Tbsp lemon juice, 1/4 tsp of citric acid, or 2 Tbsp distilled vinegar. This is to increase acidity (tomatoes are low acidity) and reduce the chance of food poisoning. Many people skip this step. They prefer to not mess with the taste. I read in several places that if you are using the pressure canning method, rather than the water bath, this step in unnecessary. Still most books and extension agencies say to do it. I imagine that due to liability issues, there's no way they'd say you didn't have to add it. We didn't. However, we plan to experiment with the lemon juice and the vinegar and add to to a few to see how it affects the flavor. If you do add it, you can put it in the top of the jar, the bottom or wherever. It will be distributed as they are processed.
For flavor, top with 1/2 tsp of salt. This step is purely for taste so you can skip the salt without worry.
Another thing you can add for taste is a few basil leaves. I read that - we didn't do it. But since we have basil growing in our garden, I may experiment with it.
Clean the jar rims again. A speck of salt on the rim could keep the jar from sealing.
Place the canning rack in the bottom of the canning pot. Put 3 quarts of hot water in the canning pot. You can use the water the lids were boiling in.
Put on the jar lids and rings/bands. Tighten the rings pretty good, then loosen just a tiny bit -1/4 inch.
Put the jars in the canner using the jar lifter.
Put the lid on the canner and tighten it. First line up the arrows on the lid and pot, then turn the lid til the handles are together.
Make sure the rubber overpressure plug is in. On our pressure canner, this is a small black plug. As a safety backup, if the vent pipe gets blocked or clogged, this little rubber thing will pop out and release steam.
Turn the stove on high. Watch for the
vent pipe to start steaming. Then begin timing. It needs to steam for 7 minutes.
This is a good time to clean up some of your mess. During steaming, the air vent may start spitting out water. Just wipe it off every now and then.
At some point during the 7 minutes, the air vent should pop up. That shows pressure is building.
After the 7 minutes is up, put the
pressure regulator on the
vent pipe.
Leave the stove on high. Watch the
pressure dial gauge. The goal is to get to and maintain 10 to 11 pounds of pressure. When it reaches about 5 to 6 lbs, you can start easing down on the stove temperature. Continue to adjust the stove setting. Most likely, you'll end up with the stove on low.
Once the canner reaches 10 pounds of pressure, start timing. Keep it between 10 and 11 pounds for 25 minutes. You will need to monitor and adjust the whole time. It may go a little over or under 10-11 pounds.
When 25 minutes is up, LIFT (don't slide) the canner off the burner. Let the pressure drop on its own - don't do anything to try to speed up this process.
The pressure is down when the air vent drops back down and no steam comes out when the pressure regulator is tilted.
Don't use the dial gauge as an indicator - even when it goes back to zero, the pressure may not be down enough. During this lesson, it took 45 minutes for the pressure to go down. Occasionally, a jar may pop while still in the canner.
When the pressure is down, take off the pressure regulator and remove the lid. Everything is still hot so use oven mitts and tilt the lid so steam goes away from your face.
Using a
jar lifter, remove jars and place them on a towel, leaving at least a 1 inch space between jars during cooling. It won't be long before you'll hear the jar lids start popping. There's a small bump on the lid. Once it pops, that bump is gone. Some will pop faster than others. Most of ours had popped before we took them out of the canner.
The tomatoes in the jars that took had rose to the top of the jar. A watery looking juice was at the bottom. One jar looked different. Everything was still mixed. It looked prettier, but that jar never popped. It was bad.
Once source says when she has a jar that doesn't take, she just puts those tomatoes in the freezer.
I have joined the following link parties:
Check Me Out Saturday #23 at I am Only One Woman
Weekend Wrap-Up Party at
Tatertots & Jello


