Holy Cow! What a difference! My wonderful hubby and I did a makeover on a cupboard he'd made years ago. At the time he made it, function was the priority. But now, it's functional and fabulous!!!
My previous house had very little functional kitchen space. I had to get creative and store kitchen goods in other places around the house. He made this cabinet with closed doors to go in another room without appearing too kitchen-y.
The doors were mostly plywood. The back was plywood. Yuk.
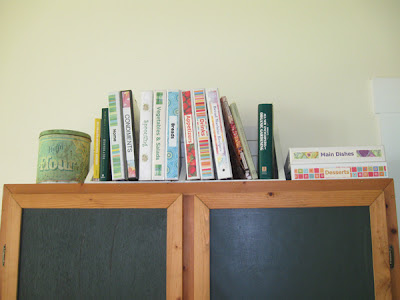
When we moved, it was put in the kitchen, but I was keeping my eye out for a better piece. I hardly ever took photos that included this cabinet. I had a heck of a time finding one to show you. The photo above was taken about a month after we moved.
This photo shows a closer view of the awful plywood doors I thought about painting this cabinet many times, but, truthfully, I didn't think I could improve on it that much. I just wanted it replaced.
Thankfully, I never found anything that would function as well as this one, so instead of replacing it, we decided to make it pretty.
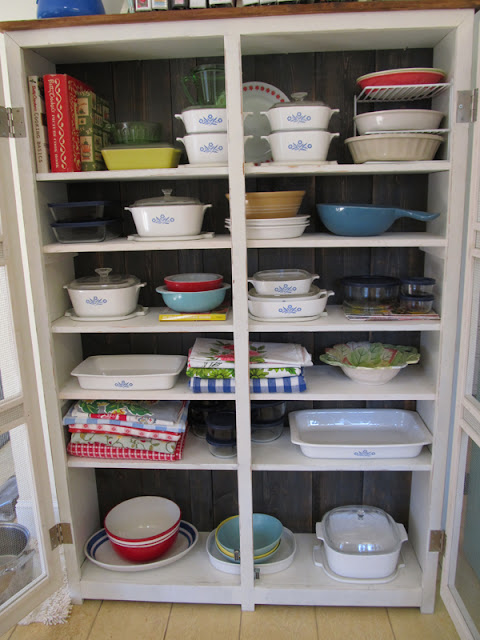
The main part of the makeover was getting rid of all the plywood. Rudy made new doors (obviously the biggest improvement) and attached heavy screen for a vintage look. It was his idea to use the hot and cold knobs for handles.
By the way, I have to say that my dear hubby has been coming up with some brilliant ideas and suggestions lately. I really wish he'd get into this makeover stuff for my booth because honestly, he'd be amazing! He's always been incredibly gifted at building, but now he's become a bit of a genius with the creative design bit as well.
I was adamant that the plywood back should be replaced by planks. We are both very happy with the results on that, too.
Most of the cabinet was painted white (mixed with calcium carbonate to make chalk paint) and sealed with clear wax, but the planks on the back were painted gray - also made into chalk paint, distressed, and sealed with brown wax. I love how the grain came through. The gray background really sets everything off and feels more interesting to me than a solid white cupboard.
Note: Wax is great for finishing most chalk paint projects, but when I paint something that will get more wear and tear, like on a kitchen table, I prefer a poly topcoat. It still looks great.
Rudy added a top which overhangs the main cabinet. It's totally for looks, but it was totally worth the effort. I painted it white, distressed it, then stained and sealed it with brown wax. It appears more brown that white. I wish I'd taken a picture of it because it's a really nice color, too. Too bad no one but me will see it - when I climb up on a step stool to dust. (Which means I'm not likely to see it all that often).
One other big improvement - Rudy added a few more shelves on the inside. I had used lots of plastic-covered-wire-stacker-things before in order to make the most of the space. Having plenty of wood shelves is soooooo much better. (Joan Crawford voice-over) NO MORE WIRE SHELVES!
I had a great time putting things back in the cabinet. At first I filled the cupboard with mostly my collection of Cornflower Corning. Many of these dishes were my grandmothers, so even though I had a colorful look in mind, I wanted to give it a try. As expected, it wasn't the look I wanted.
Next, I weeded out the corning, keeping out just the pieces I used most frequently. Then I pulled out things I had tucked here and there that were both functional and nice to look at. Those were placed first. Then I put in a few things that were very functional and OK to look at. Last, I put in some things that I'll hardly ever use, but they bring me lots of joy to look at. My tablecloths fall into that category. Most all of these came from people who are special to me. In fact, just about everything in this cupboard has stories behind them.
I think this piece is now my favorite piece of furniture in the house. It has so many memories attached to it. It was made with love, made over with love, and filled with things I love.


